1. 템플릿 photo/templates/photo/photo_post.html 작성
<html>
<head>
<title>Photo App</title>
</head>
<body>
<h1><a href="">홈으로 돌아가기</a></h1>
<div>
<section>
<h2>New Photo</h2>
<form method="POST">
{% csrf_token %} {{ form.as_p }}
<button type="submit">완료!</button>
</form>
</div>
</section>
</body>
</html>
설명 : 폼은 사용자가 데이터를 입력하여 서버로 보내도록 도와주는 양식이다. 사용자는 이 양식을 채워서 POST 방식으로 요청을 보내면 서버에서는 해당 요청을 받아 처리하게 된다.
※ csrf_token이란, 보안 취약점을 방지하기 위한 보안 토큰이다. 사용자의 세션에 있는 토큰과 요청으로 들어온 토큰이 일치하는지 확이낳여 해당 취약점을 방지할 수 있다. 즉, post요청의 보안을 지켜주는 도구라고 이해하자.
※ form.as_p는 우리가 만들 form을 태그형식으로 만들어 주겠다는 것.
 form태그 이렇게 만들어진다.
2. forms.py 생성
from django import forms
from .models import Photo
class PhotoForm(forms.ModelForm):
class Meta:
model = Photo
fields = (
'title',
'author',
'image',
'description',
'price',
)
django의 기본 ModelForm을 상솓받아 아래의 필드값을 입력으로 받는 폼을 PhotoForm클래스로 만들었다.
3. 뷰 생성
from django.shortcuts import render, get_object_or_404, redirect
from .forms import PhotoForm
def photo_post(request):
if request.method == "POST":
form = PhotoForm(request.POST)
if form.is_valid():
photo = form.save(commit=False)
photo.save()
return redirect('photo_detail', pk=photo.pk)
else: # This will handle the case where the request method is not POST (i.e., it's a GET request).
form = PhotoForm()
return render(request, 'photo/photo_post.html', {'form': form})
form.is_valid()는 django에서 제공해주는 기능이다. 요청으로 들어온 form데이터를 form이라는 변수에 받아와 폼에 맞춰 잘 작성된 데이터인지 검사해주는 기능이다.
만약 잘 받아왔다면 저장하고 photo_detail페이지로 전송한다.
만약 아니라면 맨 밑의 render페이지로 가게 되는데, 다시폼을 작성하라는 페이지를 보게 될 것이다.
※파이썬에서의 들여쓰기는 매우 중요하다. ( 개행이 없는 문법임.. ) 혹시 들여쓰기를 잘못하면 redirect와 request의 요청이 이상한데로 튈 수가 있다. 주의하도록 하자.
4.URL 작성
photo/urls.py를 열어 url추가
from django.urls import path
from . import views
urlpatterns = [
path('', views.photo_list, name='photo_list'),
path('photo/<int:pk>', views.photo_detail, name='photo_detail'),
path('photo/new/', views.photo_post, name='photo_post'),
]
템플릿을 다음과 같이 추가수정 ( photo_list.html )
<html>
<head>
<title>Photo App</title>
</head>
<body>
<h1><a href="">사진 목록 페이지</a></h1>
<h3><a href="{% url 'photo_post' %}">New Photo</a></h3>
<section>
{% for photo in photos %}
<div>
<h2>
<a href="{% url 'photo_detail' pk=photo.pk %}">{{photo.title}}</a>
</h2>
<img src="{{ photo.image }}" alt="{{photo.title}}" width="300" />
<p>{{ photo.description }}</p>
<p>{{ photo.author }}, {{ photo.price }}원</p>
</div>
{% endfor %}
</section>
</body>
</html>
<결과화면>
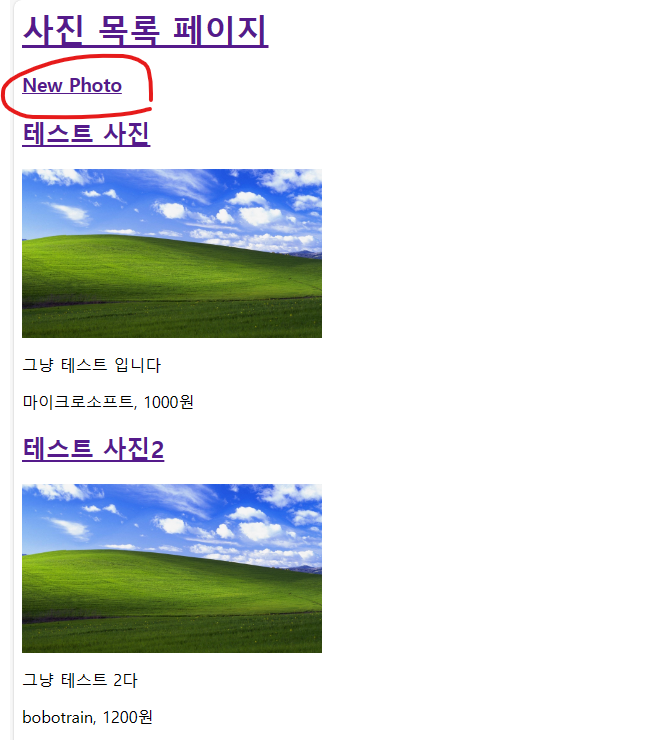 new photo를 누르면 다음과 같은 입력화면으로 넘어간다.

실제로 글을 작성하고 완료를 누르면
 잘 추가됐음을 확인할 수 있다.


